


With a fully equipped workshop you can comfortably install and setup the KW DDC Plug and Play coilovers on the Passat CC in under a day. Here’s a run down of the procedures to install your KW DDC kit.

The DDC Plug & Play coilover suspension is 100% compatible with the standard VW electronics and the VW DCC control. Note: This is not a complete installation guide, but an overview of the work carried out and we would always recommend a professional to install.
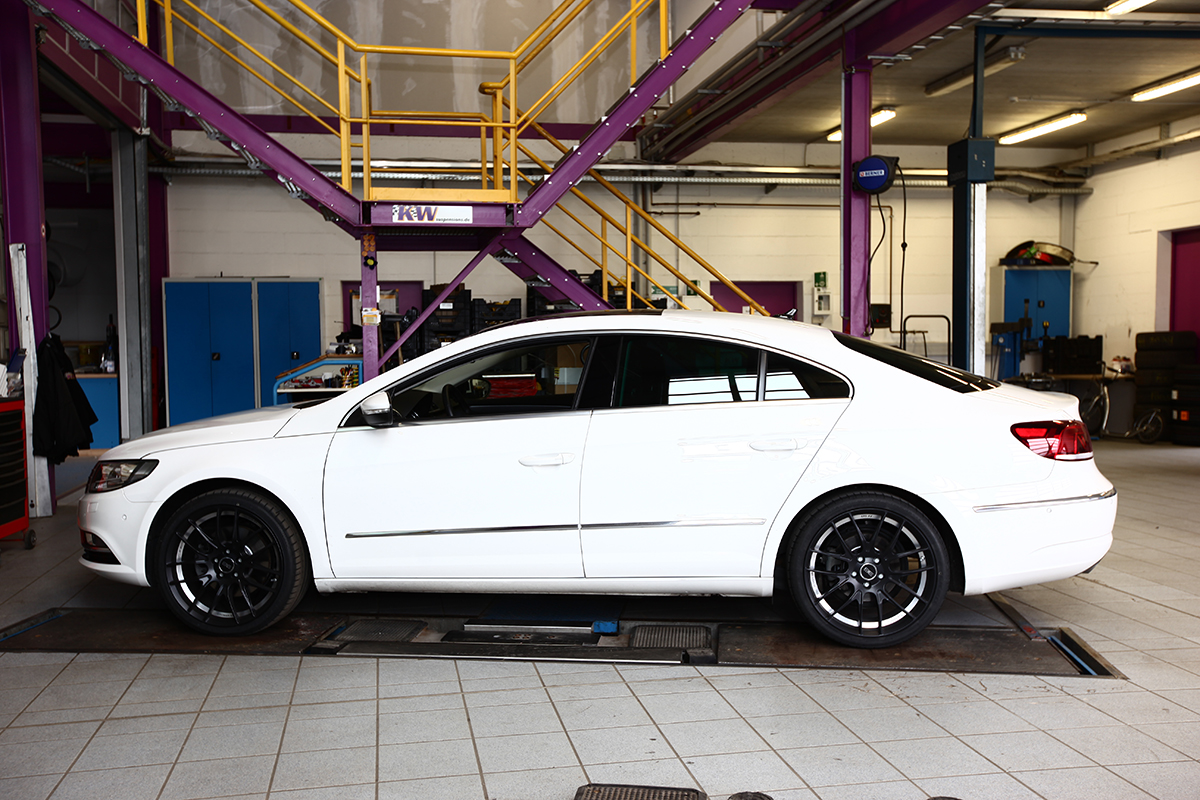
The clock is running: Out with the original suspension, in with the stainless steel!
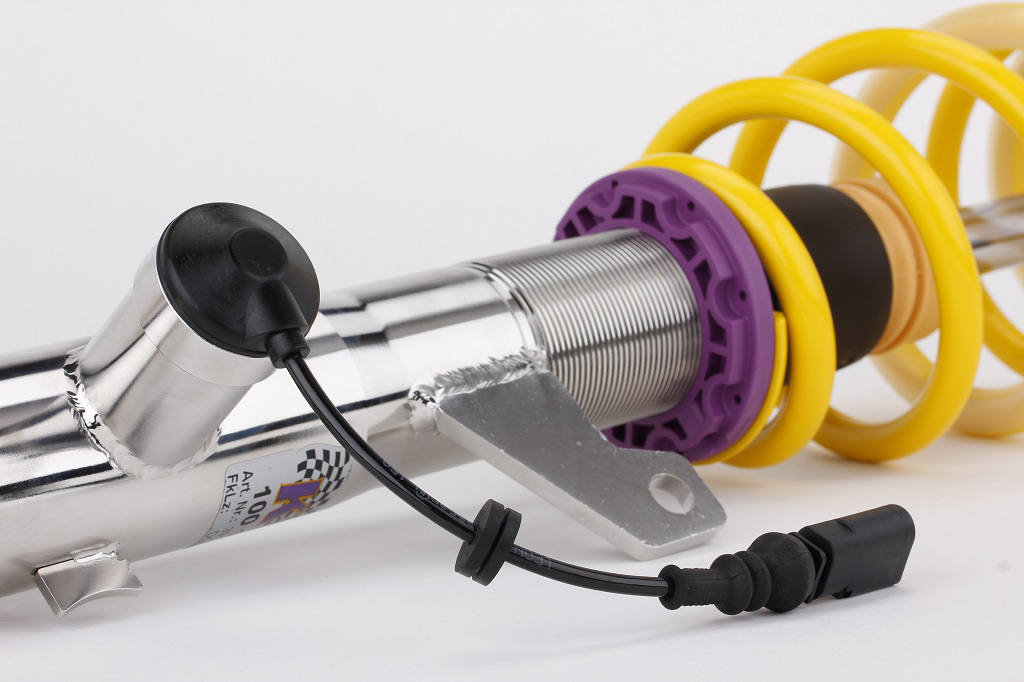
Because of the vehicle-specific production of KW coilovers it is possible to use the original electronic connections on the damper. With this built-in feature, we start with the front axle.
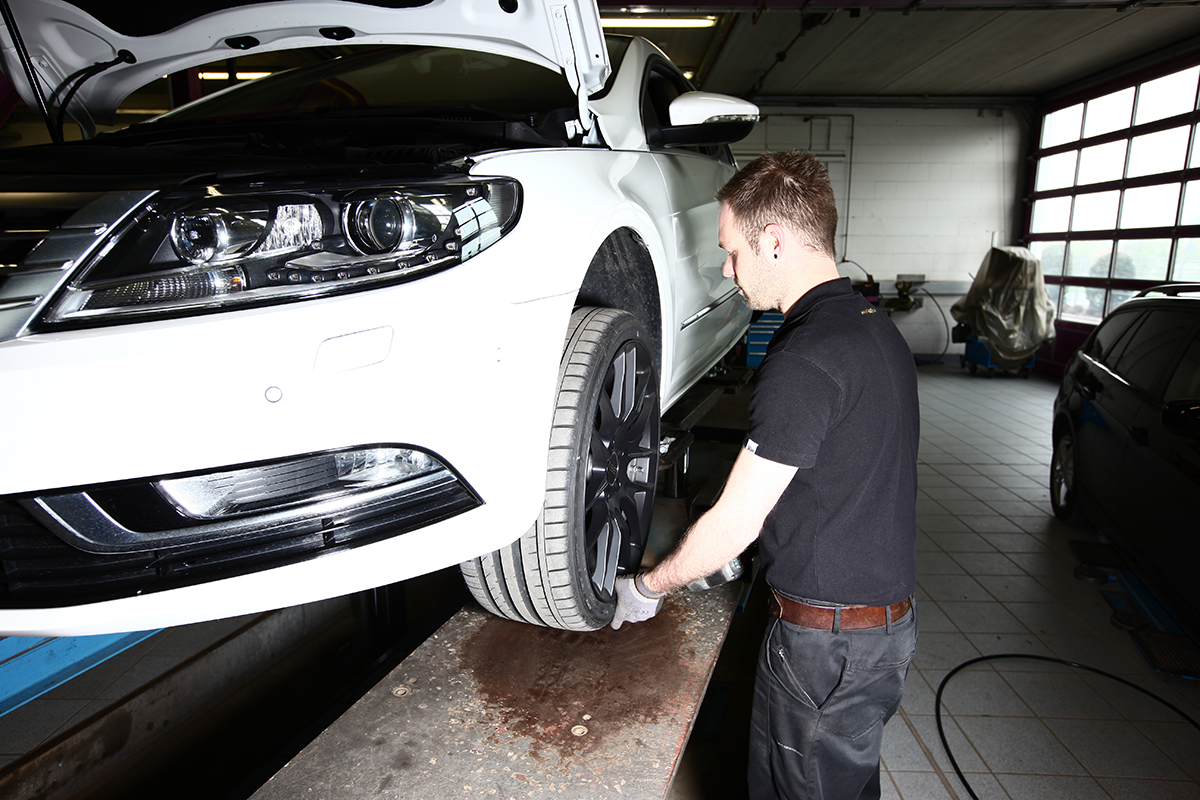
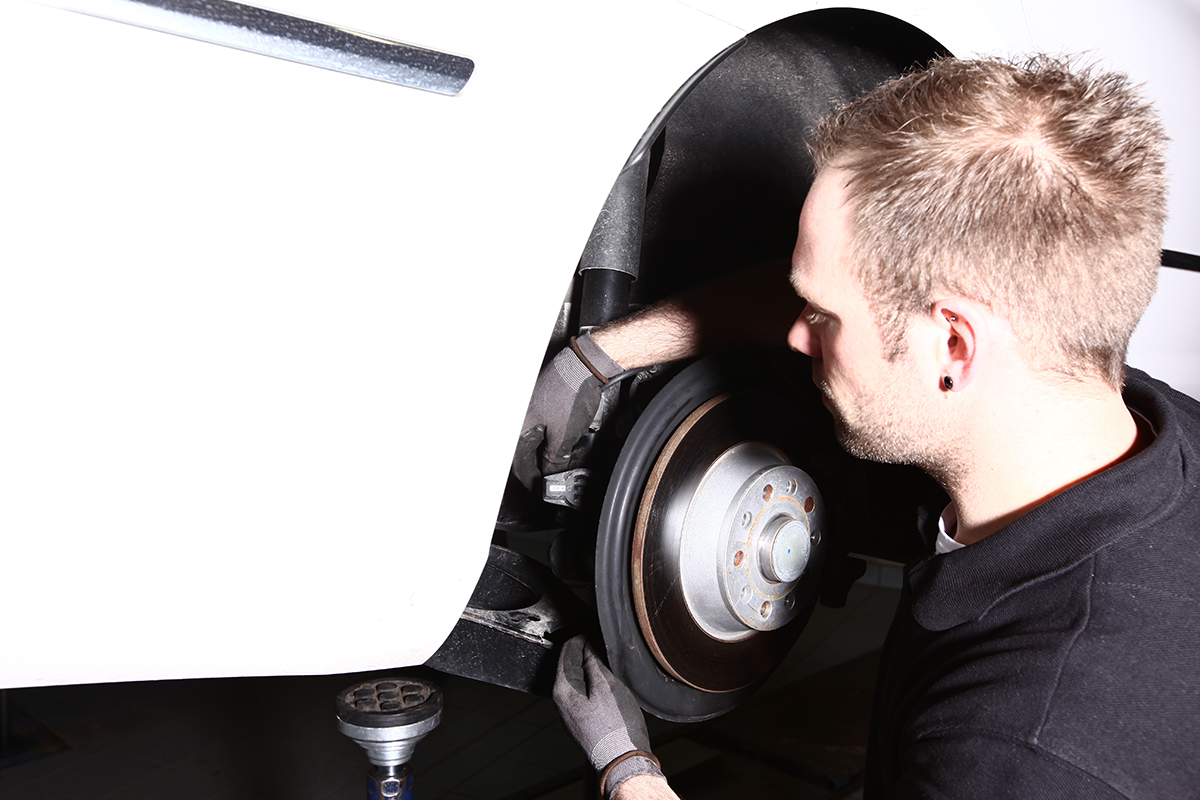
Step 1 (front): First, loosen the lug nuts. Jack up the vehicle and remove the front wheels.
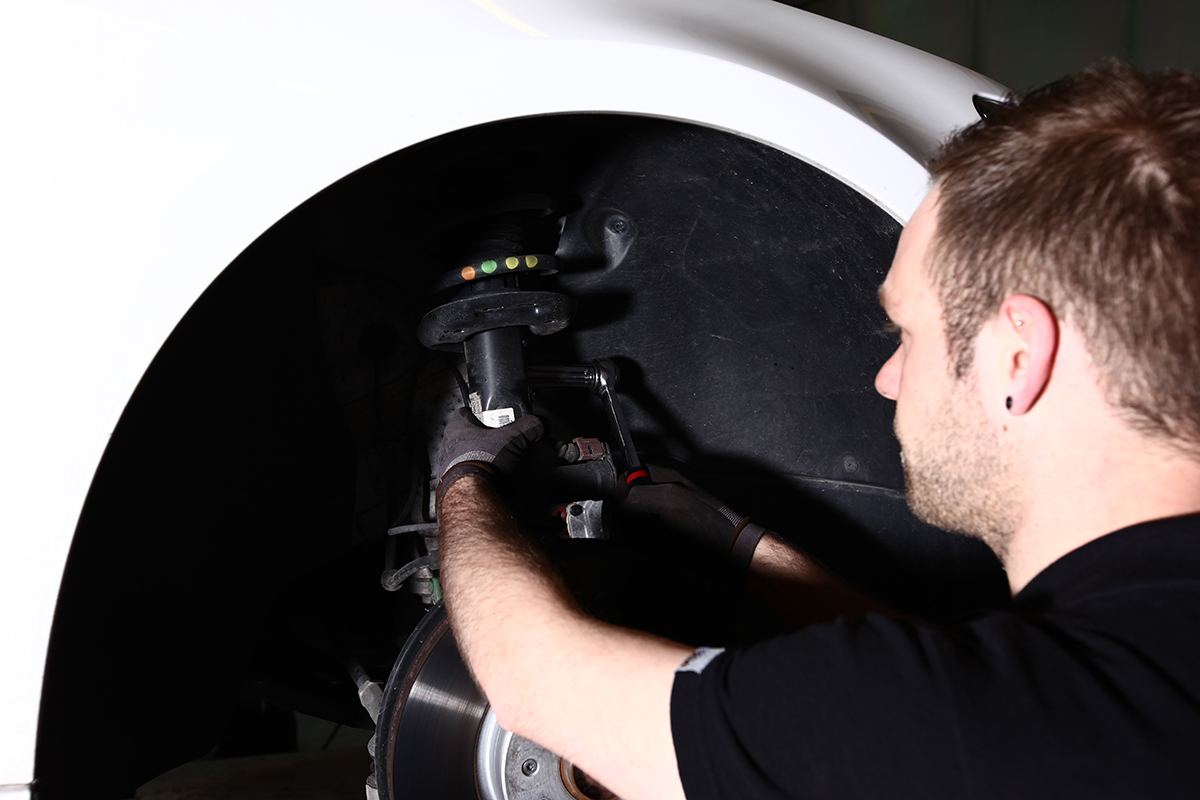
Step 2 (front): Now, remove the clamping bolt on the hub and the tie rod from the roll bar.
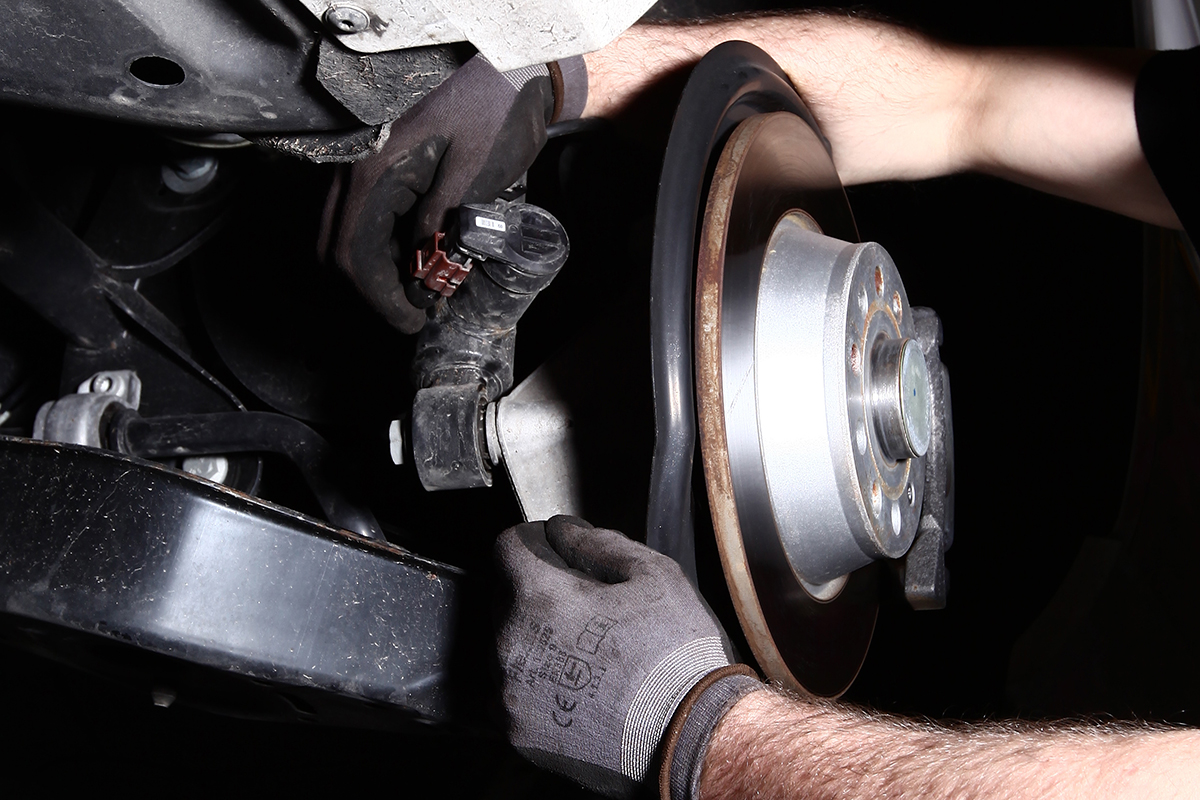
Step 3 (front): Remove the cables from the ABS sensor, the brake pipe and the DCC carefully. Then, remove the DCC connector. (Warning: clip-connection is fragile).
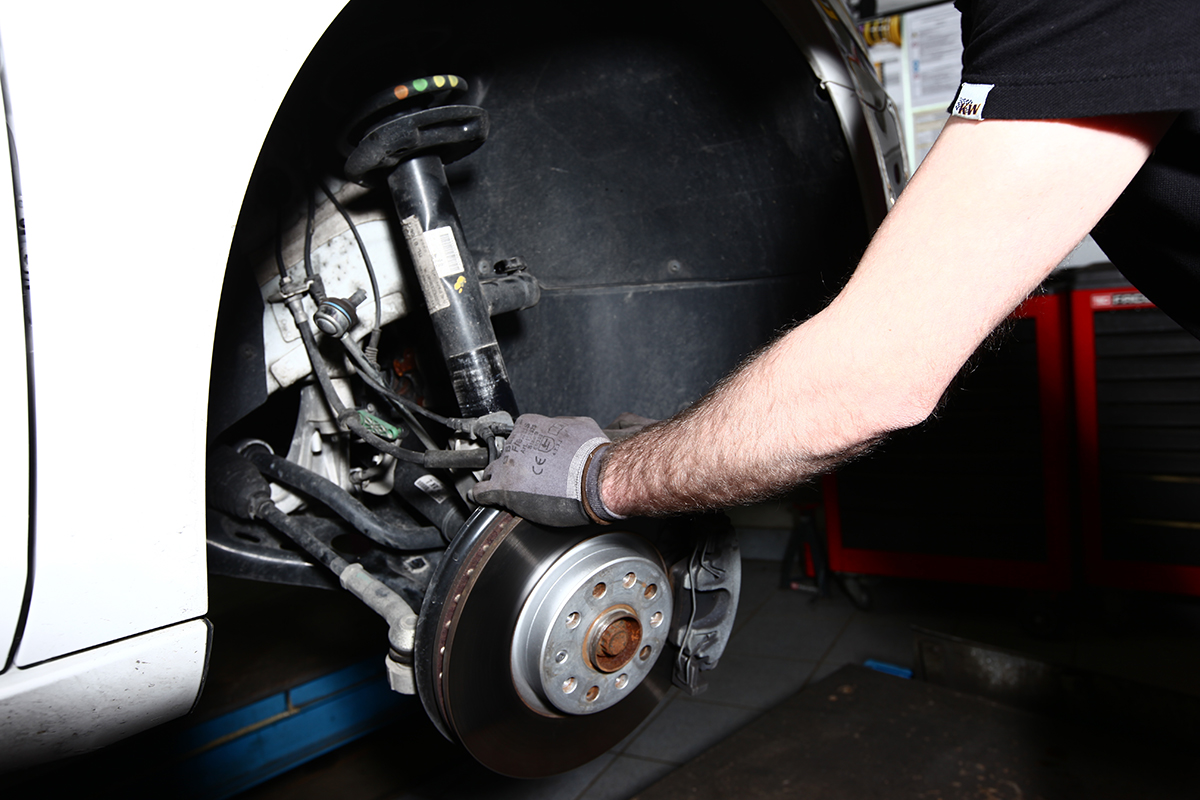
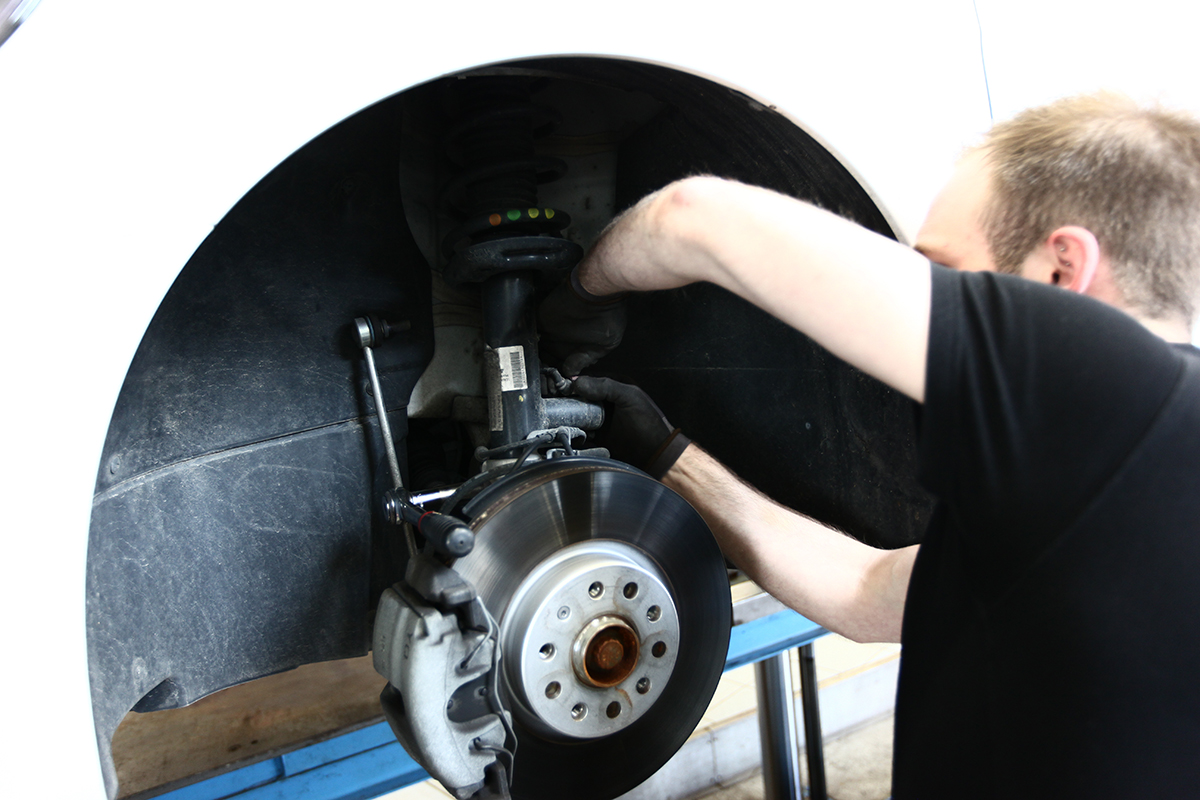
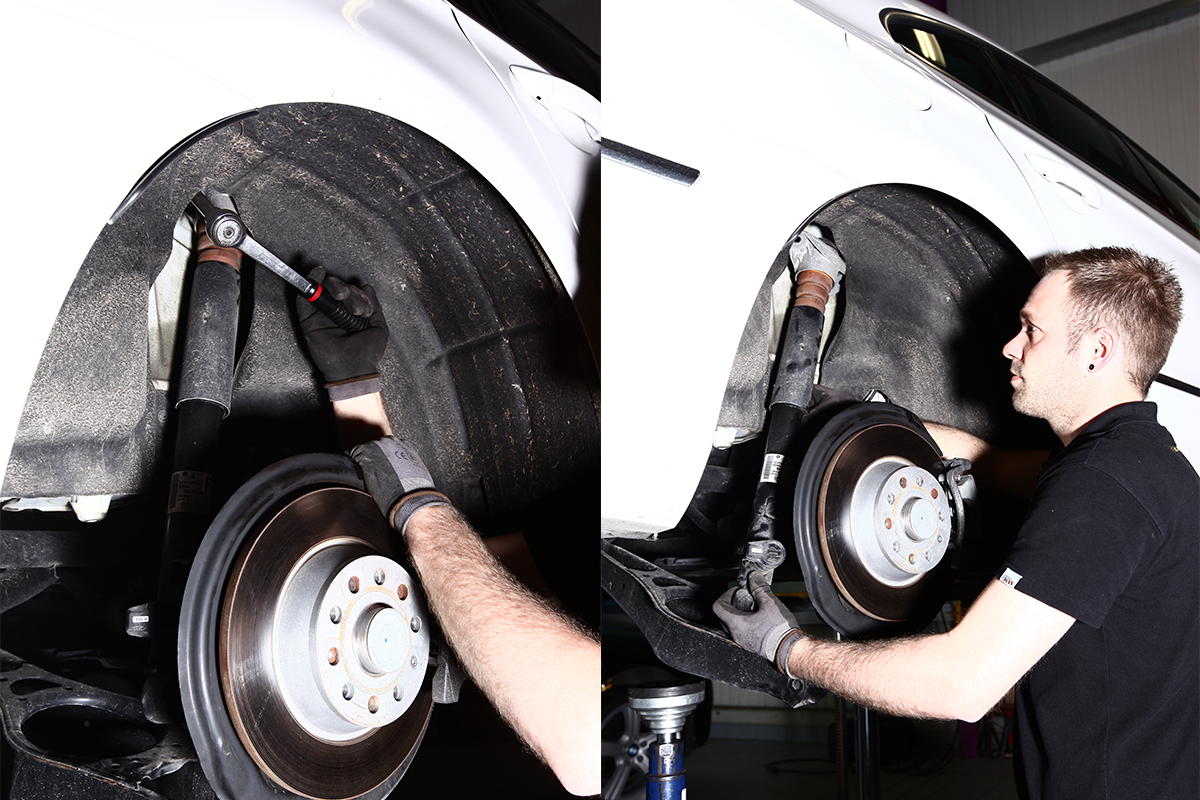
Step 4 (front): Then dismantle the OEM strut from the knuckle.
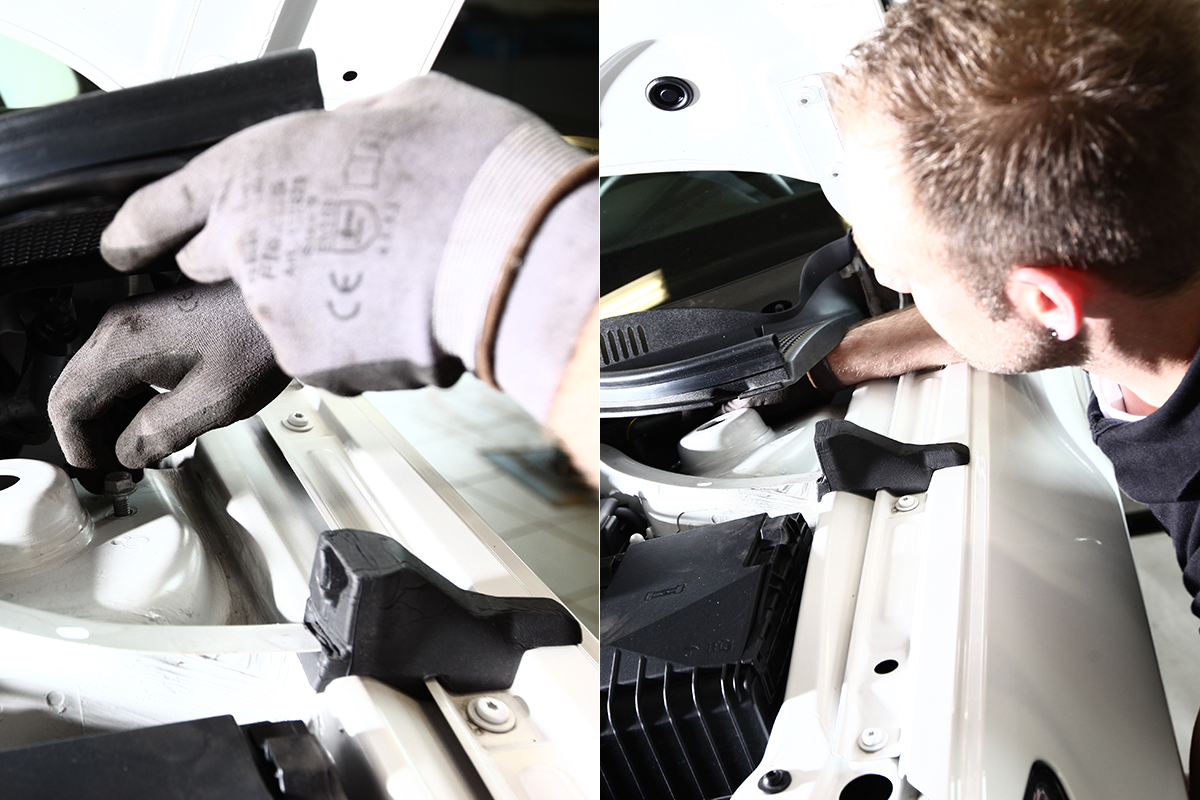
Step 5 (front): Under the cowl are the bolts for the top mount. Remove these to remove the strut from the vehicle. Note: hold the strut!
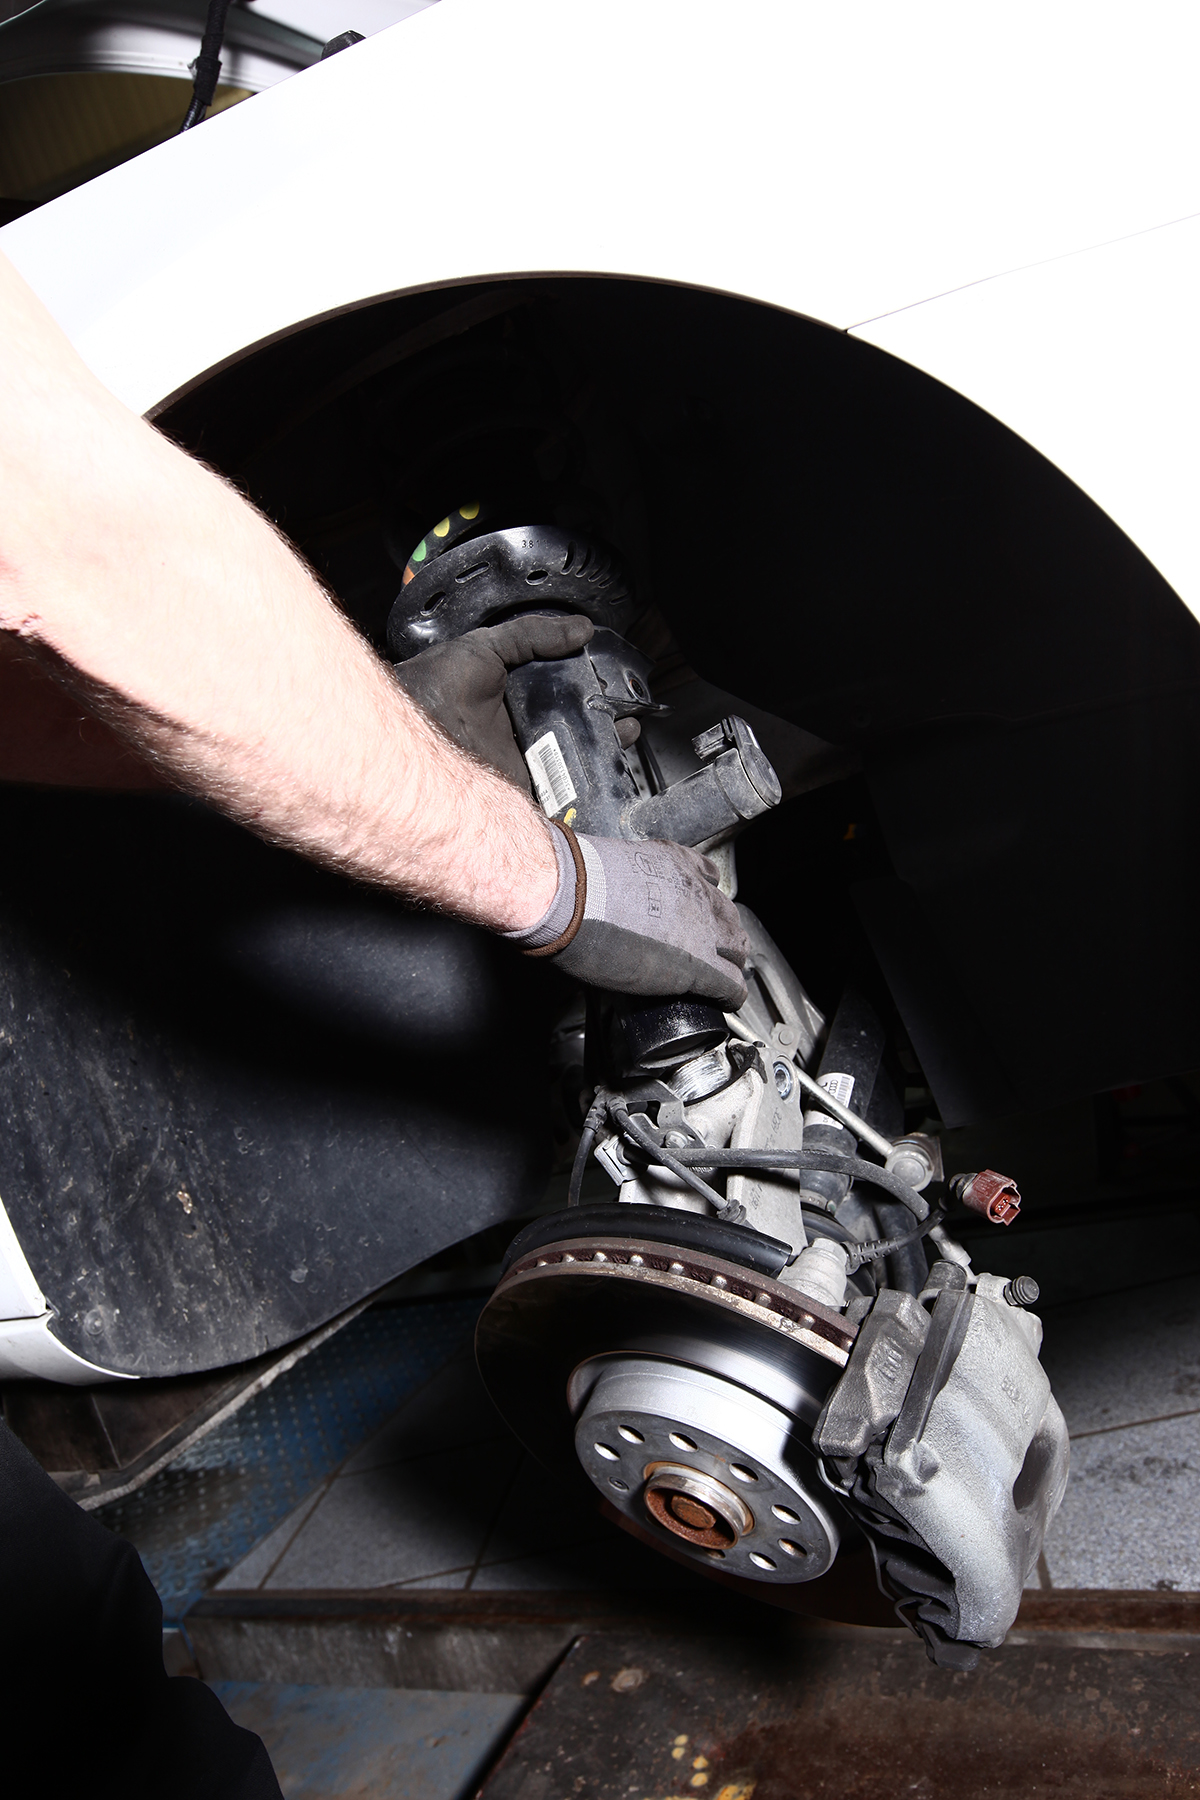
Step 6 (front): now the original damper can be removed from the wheel arch.

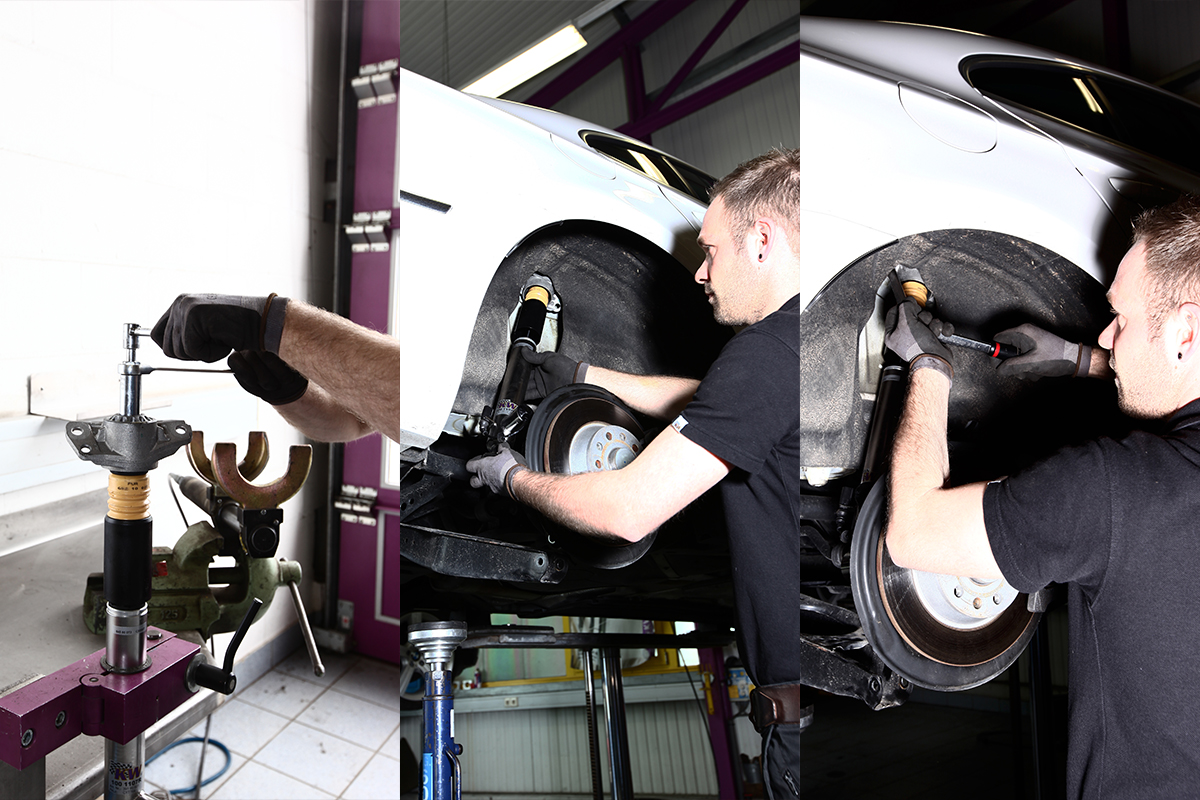
Step 7 (front): With a spring compressor the suspension spring is compressed slowly. Now the top mount can be removed.
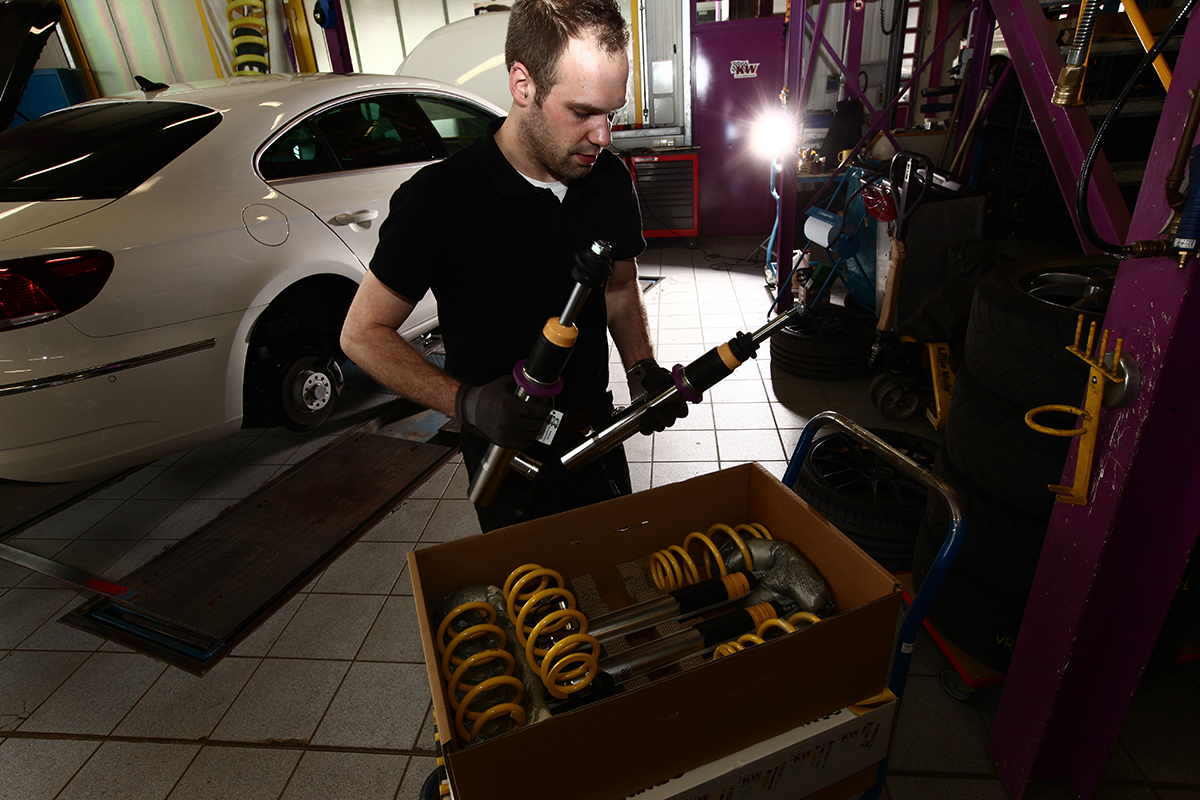
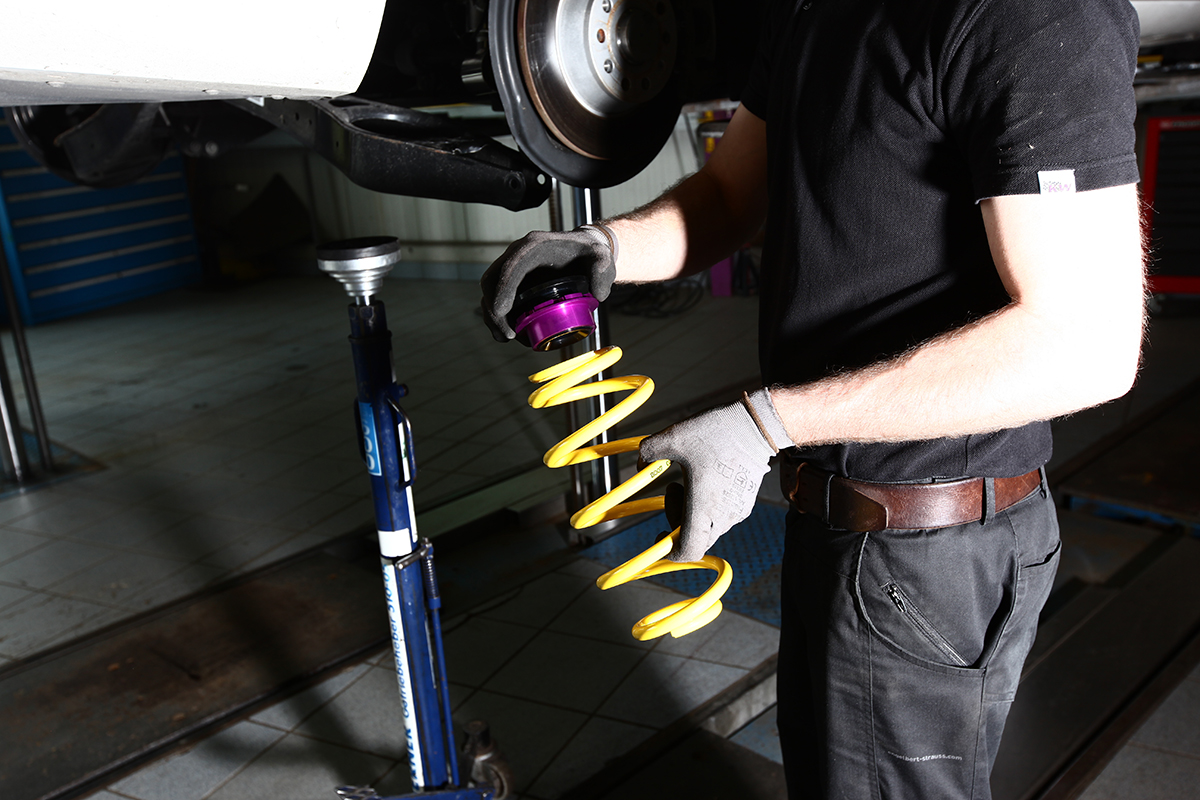
Step 8 (front): Now you can get your stainless KW DDC coilover with plug and play adaptive damper control.
Step 9 (front): The KW strut has the same mounting points as the original strut. So the installation is a breeze for trained automotive professionals. Hint: Don’t set the lowering with the threaded ring. This is best done at the end.
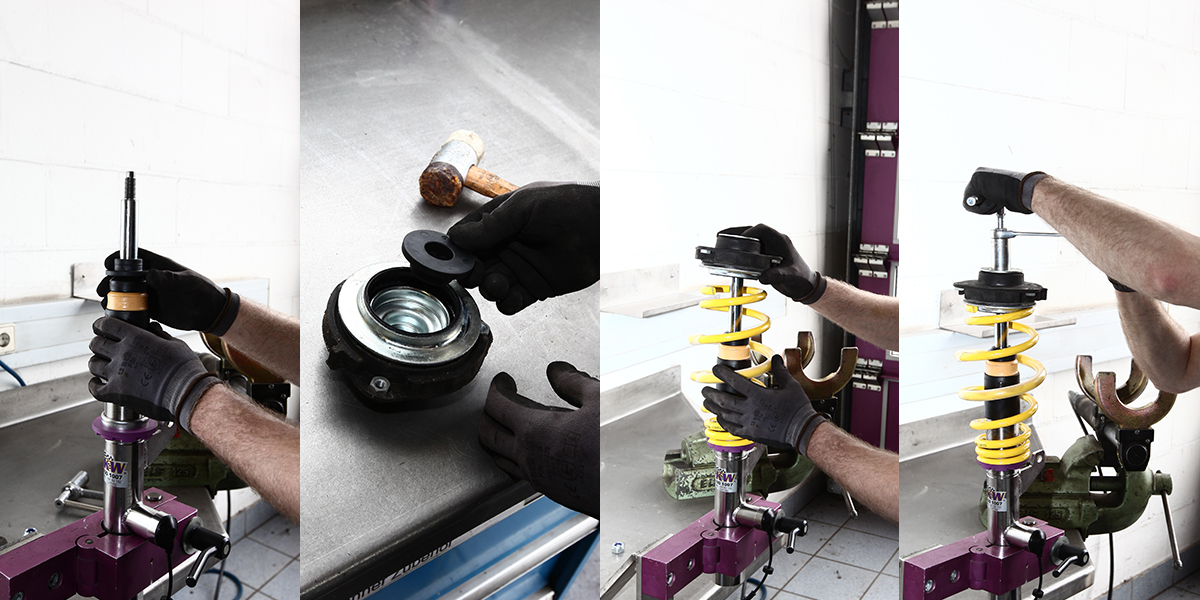
Step 10 (front): Now the original top mount is mounted back on the KW DDC Plug & Play strut. Do not forget to install the supplied plastic sleeve.
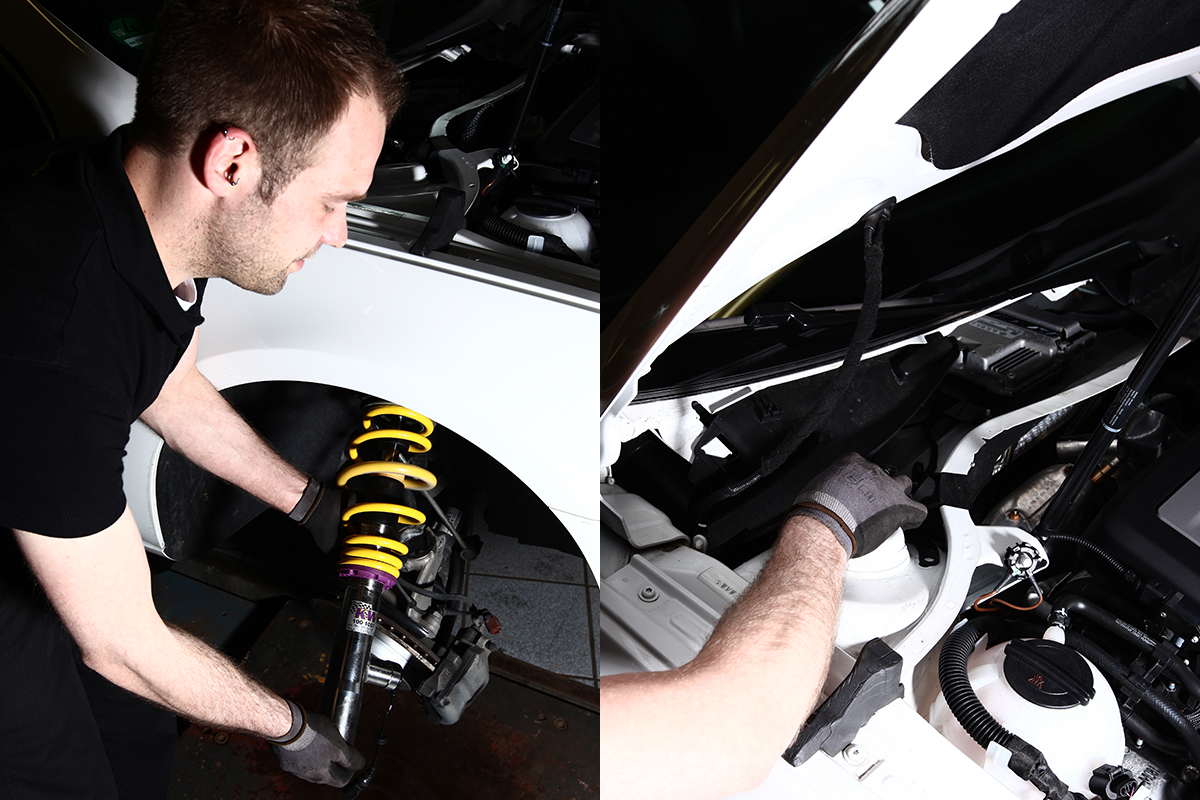
Step 11 (front): Now install the built up coilover unit into the arch.

Step 12 (front): Install the strut in the knuckle again. Important: Ensure that the strut is inserted all the way into the wheel hub! Reattach the abs cable and brake hoses to the strut.

Step 13 (front): Now the plug connection for the OEM DCC can be connected to the KW DDC. After both original struts have been replaced with the stainless steel coilovers from KW you can move to the rear.
The mounting on the rear axle

Step 1 (rear): With the wheel removed, you can see that the damper and the spring are constructed just like the front axle in a McPherson strut configuration, but separate from each other. Important: Support the wishbone with a jack and after the height sensor is removed you can remove the left and right bolts to the hub and drop the wishbone.
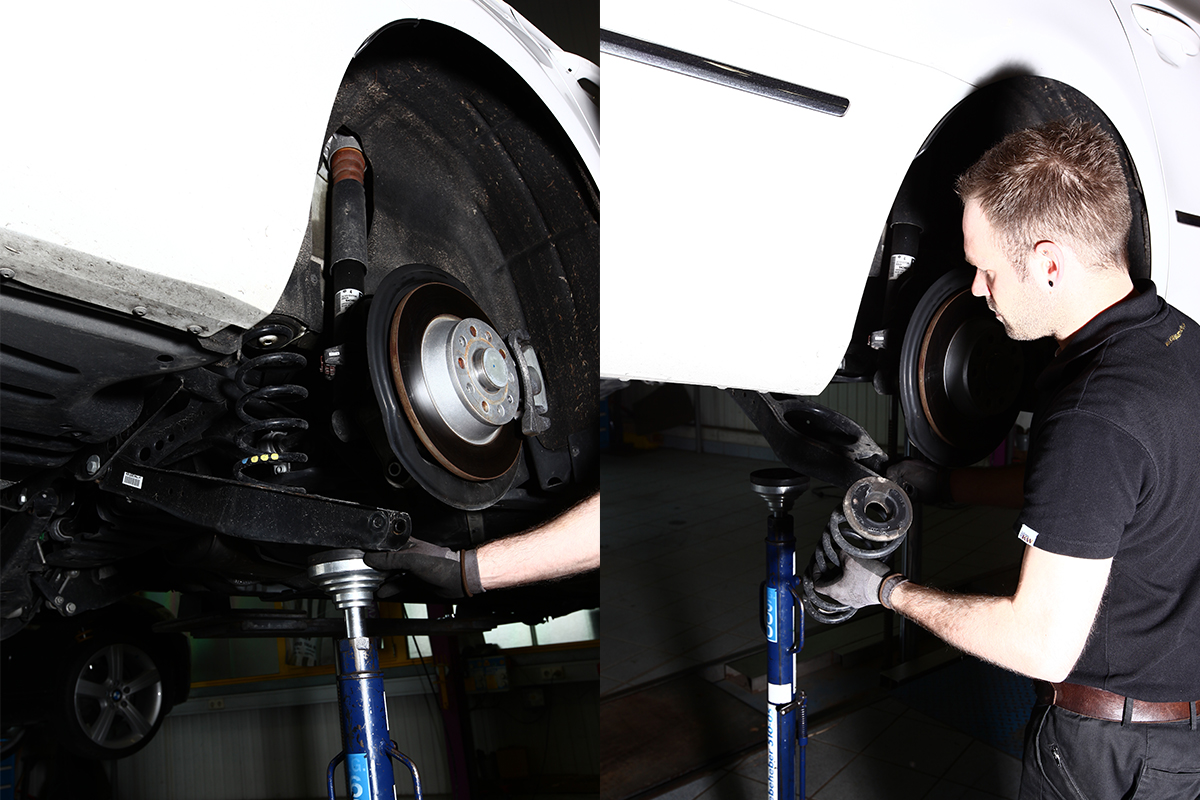
Step 2 (rear): Now pull the control arm down and the spring can be removed.
Step 3 (rear): Disconnect the OEM DCC.
Step 4 (rear): Keep DCC connector out of the way of the strut (Warning: Clip-connection can be fragile).
Step 5 (rear): Now remove the standard dampers on the lower and upper attachments and then pull down.
Step 6 (rear): The KW DDC damper now has the OEM top mount fitted and installed to the wheel arch. Now the shock is bolted to the rear hub.
Step 7 (rear): Now fit the KW spring. First, select the desired height and then install the spring to the rear axle.

Step 8 (rear): Now use the KW spring along with the KW spring plate in the space provided within the wishbone and reattach the control arm to the hub, clipping the DCC cable in the mounting points. Connect the KW DDC damper with the original plug. Now the adaptive KW DDC Plug & Play coilover is installed. You can lower the car at the front with the threaded ring between 10mm and 50mm. Rear height adjustment of the vehicle height is in the range of 15 to 45 millimetres and can be adjusted right on the spring.
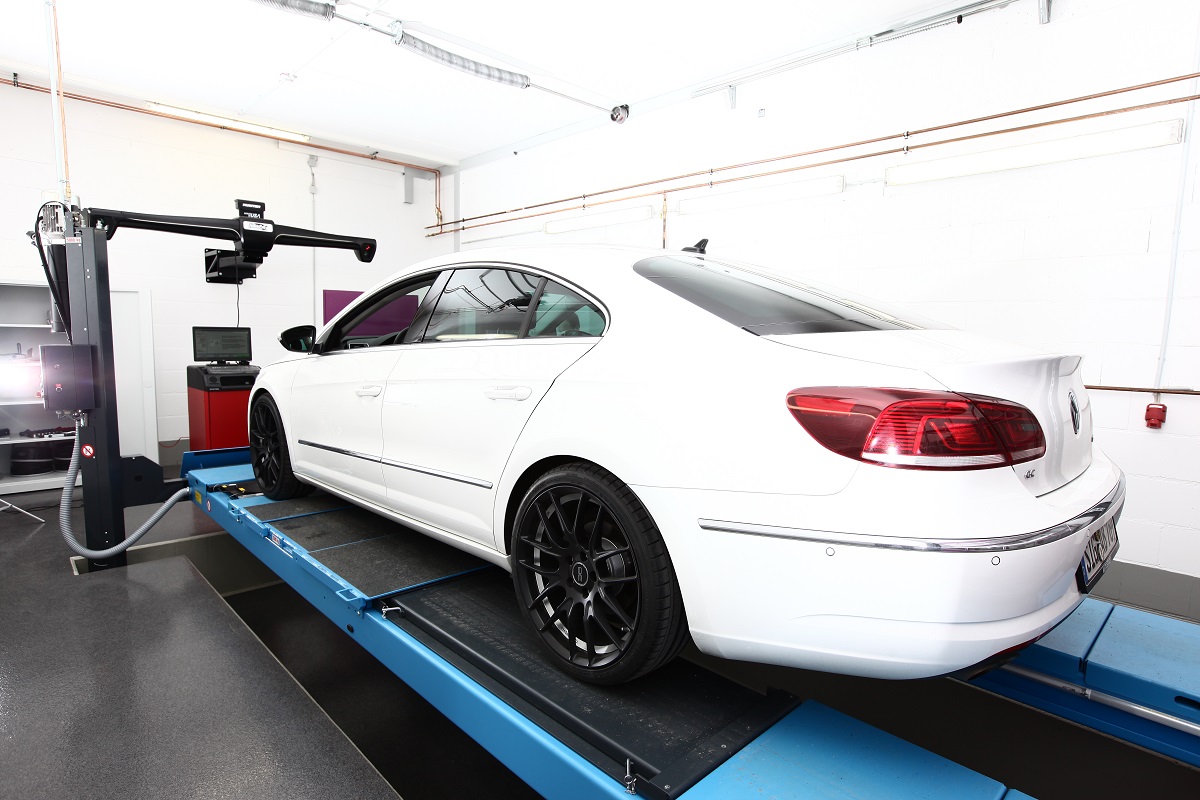
Finally a wheel alignment should be carried out. We recommend that, where possible, the OEM camber and toe values are retained. With this now complete you are now ready to take your KW equipped car out on the road!


